Published on June 30, 2024
Starting of chicks: water and feed
The starting of chicks is probably the most important stage for the success of the production period. It is important that the chicks can access water and feed easily as soon as they arrive in the building. In this article, we will analyze the important steps involved in watering and feeding, paying particular attention to questions such as water temperature, cleanliness of recipients and the crop test. We will also look at the technical tips and errors to be avoided, so that you have all the keys in your hand to ensure the smooth running of this crucial stage in the starting of your chicks.
Water
Water is the chick's first food. It is crucial to provide it with clean water, at an appropriate temperature and in abundance so that it can hydrate itself from the time of its arrival. The water quality control plan in the laboratory must take into account the water quality at the outlet of the nipples or the pipes to the drinkers and not that in the tank in the technical room.
Before the chicks’ arrival the water should have all traces of disinfectant removed. In fact, disinfection by heat fogging leaves dried disinfectant on the walls of the drinkers and it will also be found in the nipples lines. Ingestion of this type of product may irritate the digestive tract of the chick and cause diarrhoea (responsible in turn for dehydration) or problems assimilating nutrients.
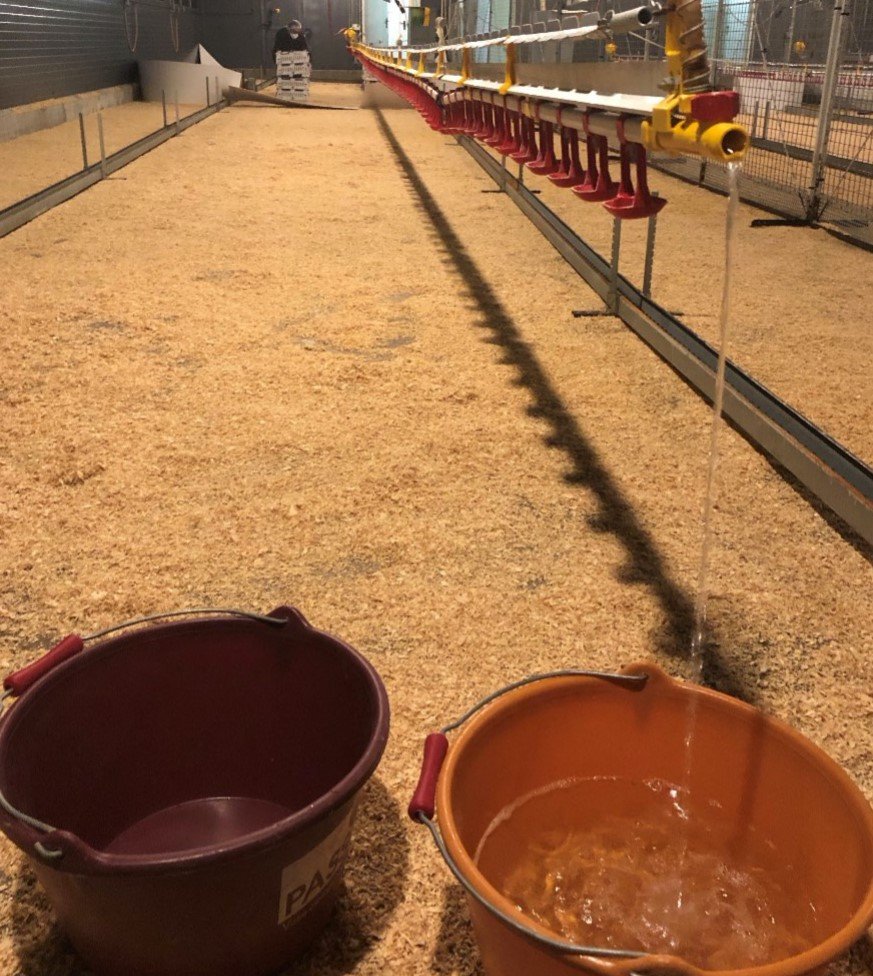
Figure 89: The water is allowed to run long enough to ensure that it no longer contains disinfectant. A dye can be used to ensure that the water has been sufficiently replenished.
Having water in the drinkers and nipples lines two or three hours maximum before the arrival of the chicks is recommended so that it is not too warm.
We recommend leaving the chick with the drinkers for about two hours before serving the first feed ration to ensure that each chick has drunk enough before the feed.
We recommend having a drinker for 50 to 80 chicks at least. Better to have too many drinkers than not enough, especially when the transport time between the hatchery and the building has been long. In the following days several drinkers can be removed when starting has been correctly conducted.
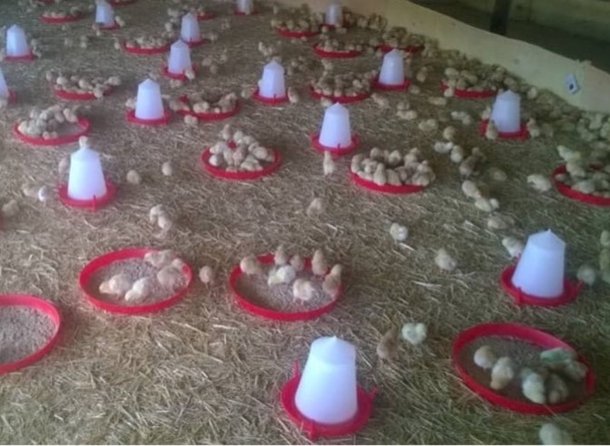
Figure 90: A small watering place for 30 chicks at the beginning. After 3 to 4 hours the large drinkers can be installed, suitable for 50 chicks. In time, these large troughs will be available for 80 to 100 animals.
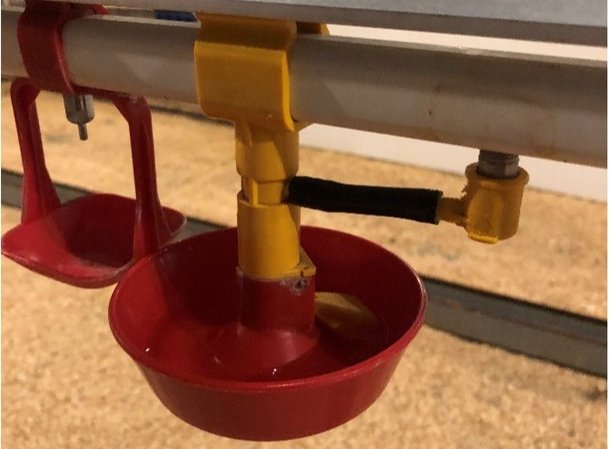
Figure 92: This device allows water to be collected in a cup from the nipples, making it easier to access the water.
Technical tip
We strongly recommend stimulating consumption by letting a small trickle of water run in the drinkers or letting a little water run via the nipples over some paper. These gestures must be repeated regularly (at reception and every hour for 2-3 h) until the chicks, attracted by the noise of the water in the nipples, learn to drink alone. If the nippless are multidirectional, this must remain the case throughout the life of the animal because once the use of the device is learnt it is difficult to move to a fixed nipples system.
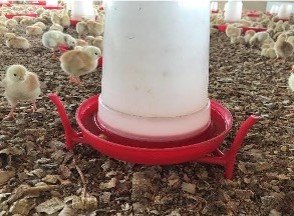
Figure 91: Drinking troughs must be clean and maintained. The device shown here allows the height to be adjusted when the chicks have grown sufficiently.
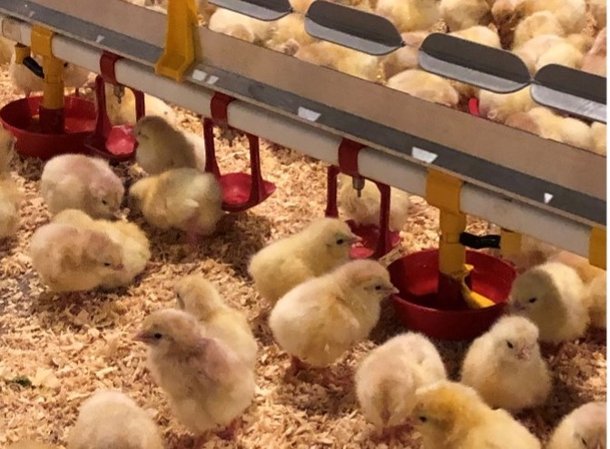
Figure 93: Chicks are curious and explore their environment with their beaks. These cups attract them and allow them to find the nippless nearby.
Errors to be avoided
If chicks are reared with nippless, the production phase may be conducted via nippless or bell drinkers. Conversely, if chicks are reared with bell drinkers this device must be kept in the production phase because the birds will not know how to use nippless!
Feed
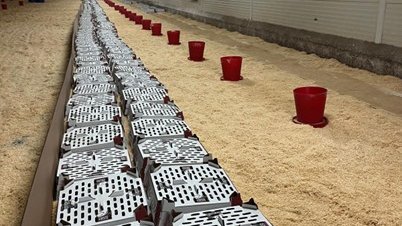
Preferably feed is presented in the form of crumbs for starting. It is placed in starter trays (the red colour specifically attracts the chick’s attention). We prefer trays to starter paper which gets dirty faster over time. One tray is allowed for 50 chicks.
The height of the tray should allow the chick to access the feed easily.
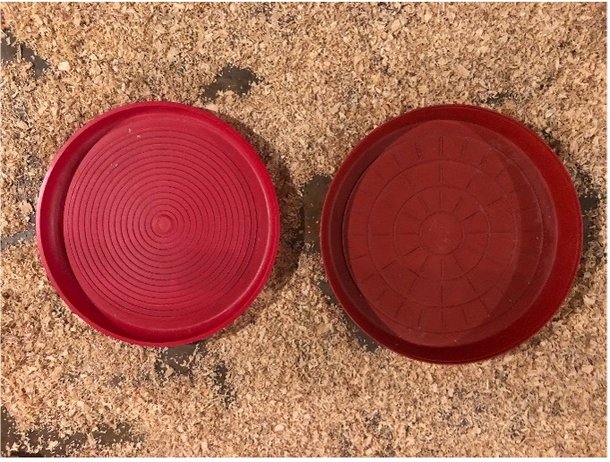
Figure 94: Starter trays allow the feed to be protected from the litter while still being accessible to the chick.
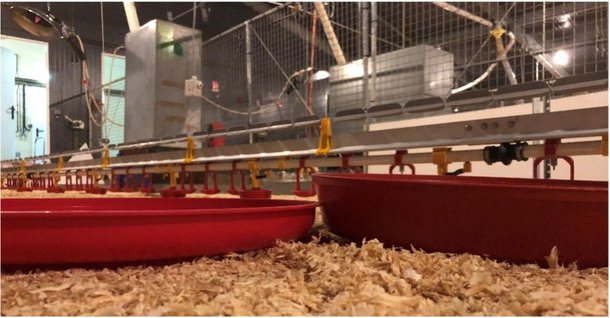
Figure 95: The trays are not identical between brands and models. A maximum height of 1.5cm is recommended (left-hand tray).
Once the chicks have quenched their thirst they can start to eat. For two hours the chick is encouraged to come and eat by allowing a little feed to drop onto the starter trays or by tapping the bottom of the tray with your nails. The noise of the feed on the surface of the tray is a very good stimulant for the chick. To be repeated regularly until each chick knows how to find and consume the feed.
At one day an SA51A chick consumes only 6 to 7 g of feed in 24 hours (7 to 8 g for an SA31A chick). Depending on the time of arrival and the meal time the next day, a suitable quantity must be given.
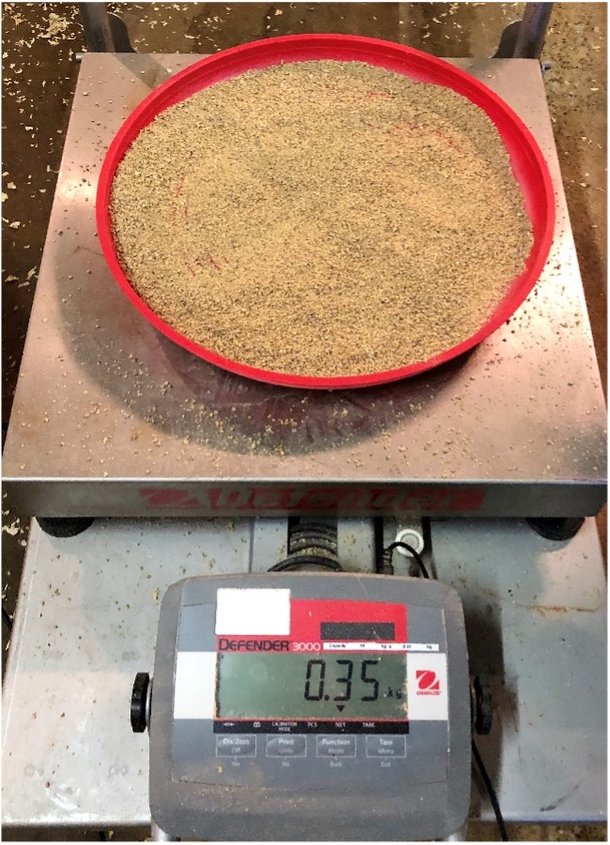
Figure 96: During the first 24 hours, a SA51A chick consumes only 7g of feed (one tray for 50 chicks, i.e. 350 g of feed here), i.e. 0.3 g of feed per hour.
Errors to be avoided
Above all do not provide too much feed at the start. The chick will not eat all of it and the feed will deteriorate due to the heat and time (nutrient oxidation, growth of germs, etc.) which can cause digestive disorders and spoil the feed unnecessarily. Ad libitum does not mean in excess!

Figure 97: In this example of setting up at 3pm, for feeding the next day at 8am (17 hours later) it is sufficient to put 0.3 x 17 = 5g per chick in the feeder (remember: a chick consumes about 0.3g/h).
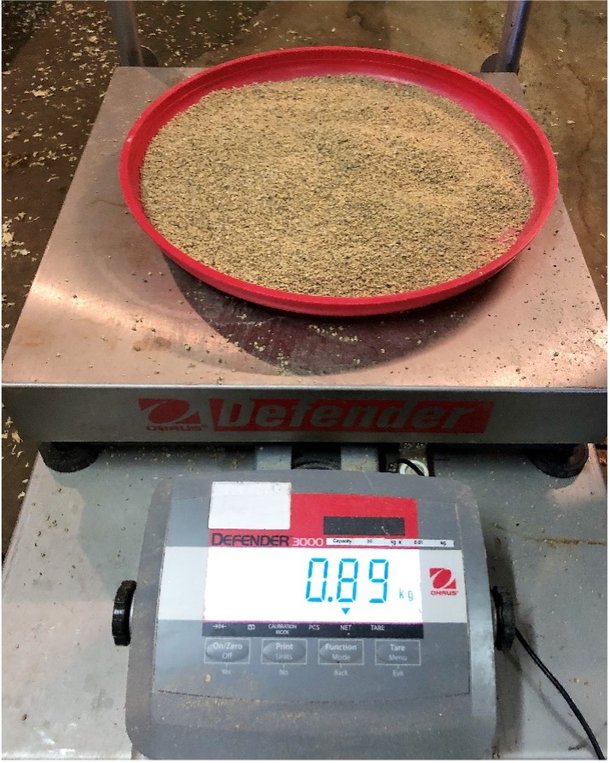
Figure 98: This tray is obviously too full. At weighing, 890g of feed is counted, which represents 18g per chick: useless, expensive and leaves the feed to deteriorate in the open air.
Crop test
After 3 h 90% of the chicks should have a full crop. When palpating the presence of a paste, a mixture of feed and water, should be felt between the fingers. However:
- if the crop is empty then the chick has difficulty finding the feed and water
- if the crop is full but very soft, then it is full of water and this means difficulty accessing the feed
- if the crop is full but hard, then it is full of feed and this means difficulty accessing the drinking water
- if the crop is full and supple without being too soft or too hard, then it contains a mixture of water and feed. This means that the chick has drunk and eaten, which is the objective sought!
Technical tip
It is always necessary to try and refill the feed once technique the tray is empty to ensure the chicks eat all their feed ration and so receive all the nutrients they need. This is said to be ad libitum with emptying of the plate.
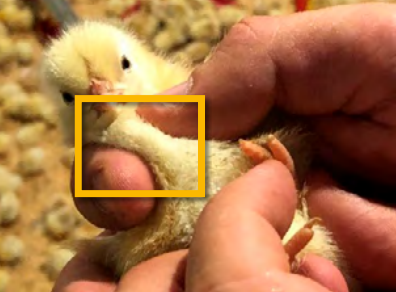
Figure 99: By gently palpating the crop with the thumb and forefinger you can assess its consistency and volume.
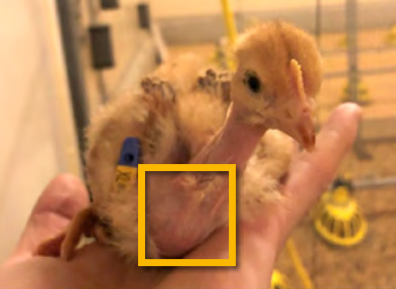
Figure 100: On naked neck strains, the volume of the crop can be assessed even more easily! Here this Ruby TN chick has eaten well.
Successful starting is prepared well in advance, but it also requires investing a lot of effort in the hours following the installation of the chicks. It is necessary to ensure the chicks have learnt where the sources of heat, feed and drink are.
The farmer and his team must stimulate the chicks regularly at the feeders and drinkers, do the rounds to gather the strays around the heat sources and ensure that the pen is well sealed (no trapped or escaped chicks).
The diagram below summarises the major stages that must not be missed.
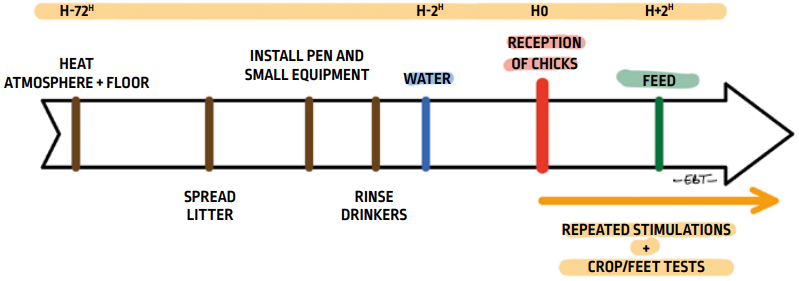
Figure 101: The different steps to a successful start-up.